
Wordpress Tips
Getting Started with MaxCDN: 10 Things to Do
It is no secret that webmasters of many top sites rely on premium CDN services to offer a faster browsing experience to their visitors. MaxCDN happens to be an affordable and high quality solution for bloggers and small business owners. Many folks assume that they need to be an uber geek to set up their own CDN account. The folks at MaxCDN make the process very easy. Here are 10 things you can do to set up your MaxCDN account correctly:
Add a Pull Zone: this is pretty easy. Just log on to MaxCDN, create a new pull zone, and then go to its Settings page to add custom domains (e.g. cdn1.wpjedi.com, cdn2.wpjedi.com, …).
Setup domain cPanel: your job is not done with the last step. You also need to set up your sub-domains properly. For that, log on to your cPanel, click on Simple DNS Zone Editor, and add the appropriate CNAME record.
Set up W3 Total Cache: you will need to connect W3 Total Cache to your account, grab the authorization key, and add the sub-domain names that you created in the previous step.
How to configure WP Touch with MaxCDN: in case you haven’t noticed, WPtouch now has its own caching system. The Infinity Cache is compatible with MaxCDN. Just enable it and use the sub-domains that you created.
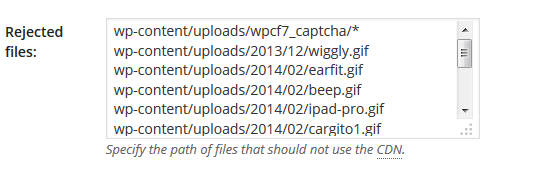
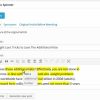
Disable certain files from using CDN: this tip is nice to know when you have a large file that could push you over your account’s limits. If you are using W3 Total Cache on your site, go to CDN > Rejected files to add the list of files that should not use your CDN service.
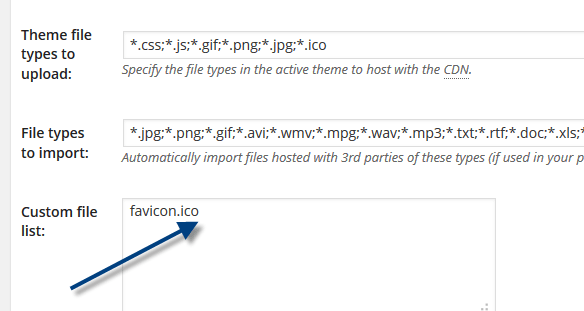
How to specify files outside of your theme to host with the CDN: this is another neat feature you can easily set up when using a caching plugin like W3 Total Cache. Just go to CDN > Custom file list to get started.
Find the most popular files on your site: this is important to know, especially if you don’t want huge files to eat up your MaxCDN bandwidth. To see the files that have gotten the most hits, go to MaxCDN > Reports > Top 50 Files and order by size or hits.
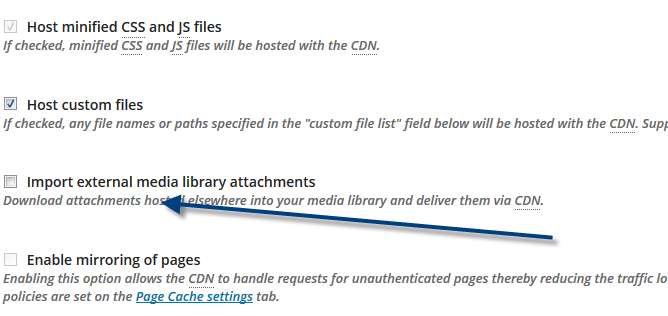
How to import external media library attachments: this is a step you may want to take to maximize CDN usage. W3 Total Cache makes it easy. Just enable this option by going to Performance > CDN to import files into your media library and serve them via CDN.
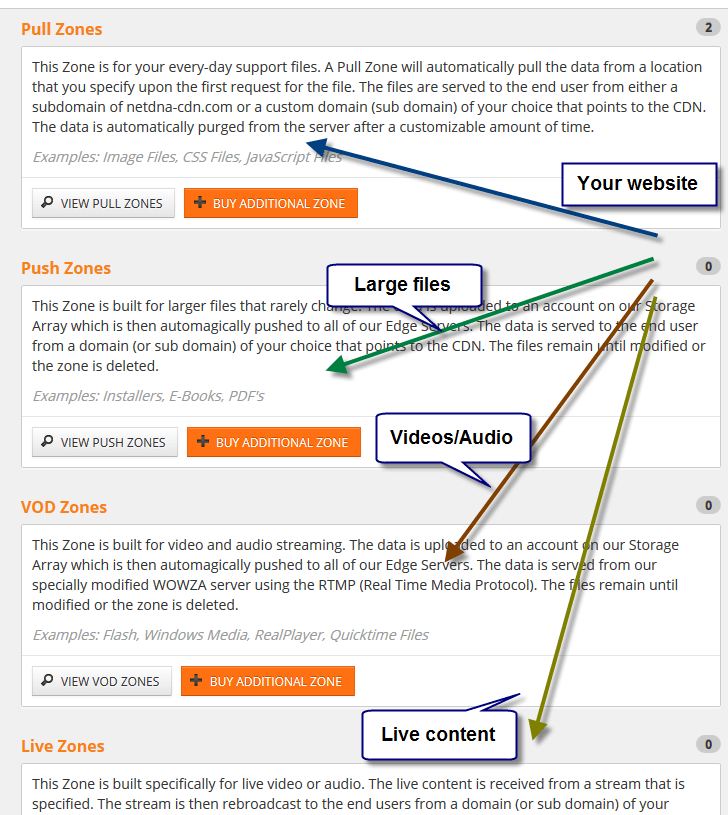
Decide which zone to choose: when you sign up for a new MaxCDN account, you will have multiple zone options to choose from. Which one should you go with? As a rule of thumb, you should use a pull zone for your site to speed it up. Large downloads should be served using a push zone. VOD zones are for pre-recorded videos. You can use a Live zone to serve live content.
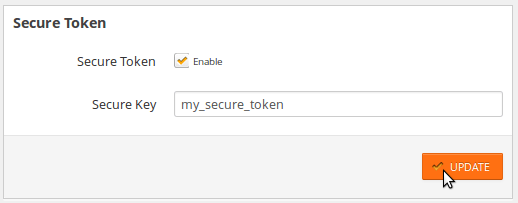
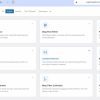
Manage secure resources with EdgeSecurity: this is for more advanced users. You can use this feature to share time-expiring links and decide who has access to your secure content. To enable this feature, go to your Dashboard > Add Services, and buy EdgeSecurity for your account. The folks at MaxCDN already have sample PHP and Python codes you can use to serve secure files.
Don’t forget to enable 2-step authentication for your MaxCDN account for more protection. These guys do have a ton of tutorials and tips to help you handle simple and more advanced projects. Once you try these steps for one site, you are going to get the hang of MaxCDN for future projects.